
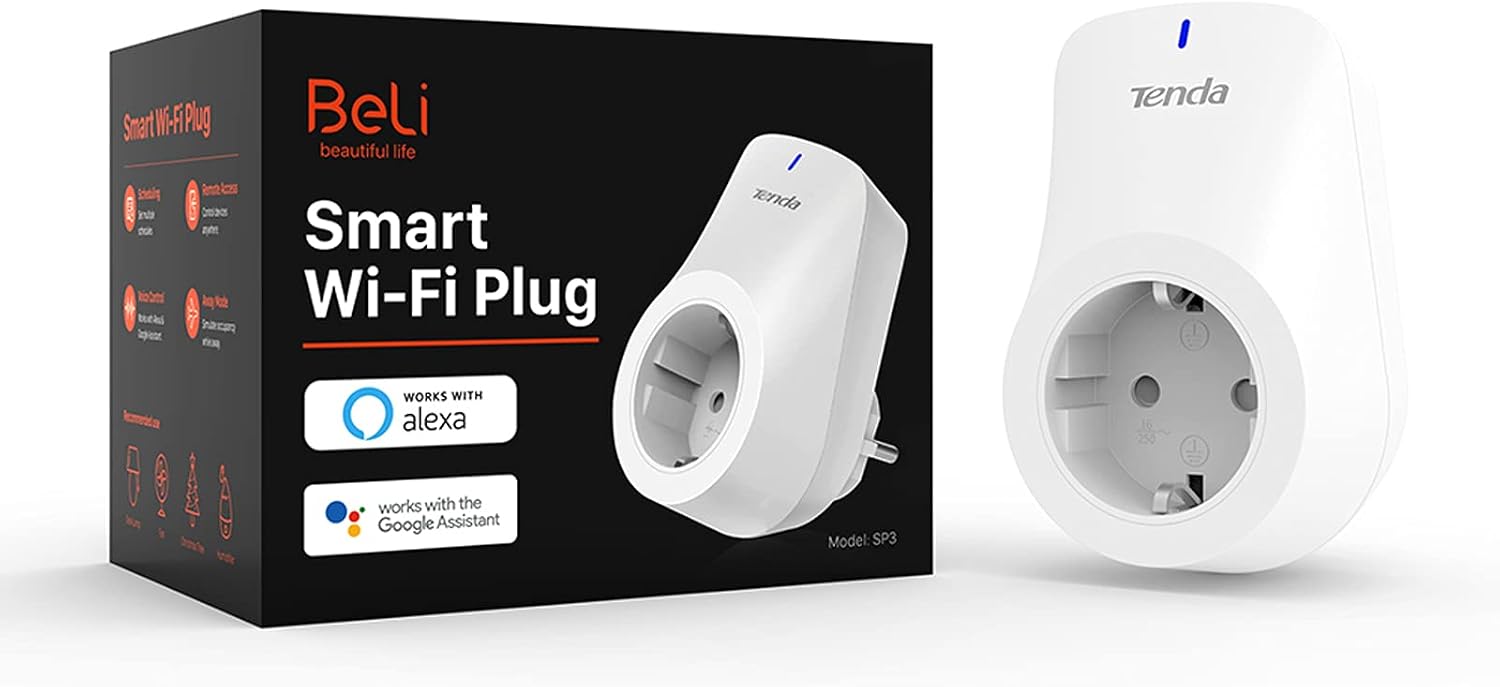
If you own Tenda Beli Wi‑Fi smart plugs and want to control them with Homebridge, this guide explains setup. It covers the local protocol and how to write a working configuration for a homebridge plug wifi tenda beli.
This method does not require a Tuya developer account, a Local Key, or any cloud linking. It relies entirely on the plug’s local HTTP API, discovered through reverse engineering by the community.
Why This Works
Tenda Beli plugs are white-label devices built on Tuya’s hardware/firmware platform. They are rebranded under Tenda’s own app, Beli. The homebridge plug wifi tenda beli does not expose a standard Tuya Local Key. This is unlike generic Tuya devices. Likewise, the Beli app offers no way to link accounts. No QR code scanning for account linking, unlike the Tuya Smart / Smart Life apps.
Fortunately, once the plug is connected to your Wi-Fi network, it runs a small, unencrypted local web server on port 5000. This server accepts simple HTTP requests to turn the plug on/off and to check its current status — no cloud, no authentication, no Local Key required.
This was documented by the open-source project nohous/tenda-beli, which reverse-engineered the plug’s provisioning and control protocol.
Glossary of Terms Used in This Guide
| Term | Meaning |
| Homebridge | An open-source server that emulates the HomeKit API, letting non-HomeKit-compatible smart devices (like Tenda plugs) appear as HomeKit accessories in Apple’s Home app. |
| Plugin | A Homebridge add-on (a Node.js package) that adds support for a specific type of device or protocol. |
| Accessory | A single smart device exposed to HomeKit (e.g., one smart plug). |
| Child bridge | An isolated process Homebridge can run for a plugin, so that a crash in one plugin doesn’t affect the whole system. |
| Local Key | A secret key normally required to control Tuya devices locally over the LAN. Not needed here, since we bypass Tuya’s protocol entirely. |
| DHCP reservation | A router setting that always assigns the same local IP address to a specific device (identified by its MAC address), preventing the IP from changing after a reboot. |
| curl | A command-line tool used to send HTTP requests, useful here for testing the plug’s local API before configuring Homebridge. |
| JSON | A lightweight text format (JavaScript Object Notation) used to structure data — both in Homebridge’s configuration file and in the plug’s API requests/responses. |
| config.json | Homebridge’s main configuration file, listing all bridges, platforms, and accessories. |
| statusUrl / onUrl / offUrl | Configuration fields used by the homebridge-http-switch plugin to define which HTTP endpoints control and report the state of the switch. |
| statusPattern | A text pattern used to detect whether the plug is “on” by searching for a specific string in the response returned by statusUrl. |
How to achieve it
Step 1 — Find Your Plug’s Local IP Address
First, you need to know the local IP address of your Tenda plug on your home network.
- Log into your router’s admin panel and look at the list of connected devices.
If you do not have access to you router to see all IP on your LAN, you can still uses nmap or use Fing application.
Look for a device with a hostname like sp3.home or a name resembling “Tenda.” Note its IP address (e.g., 192.168.1.124) and its MAC address.
Important: Set up a DHCP reservation for this device in your router settings, so it always keeps the same IP address. Homebridge relies on a fixed IP to communicate reliably with the plug.
Step 2 — Test the Plug’s Local HTTP API
The Tenda Beli plug listens on port 5000 and responds to plain, unencrypted HTTP requests — no login, no token, no HTTPS.
Turn the plug ON
Open a terminal (on Mac, Linux, or on your Homebridge server itself) and run:
curl -X POST "http://192.168.1.94:5000/setSta" \

  -H "Content-Type: application/json" \

  -d '{"status":1}'
Expected response : {"resp_code":0,"status":1}
Turn the plug OFF
curl -X POST "http://192.168.1.94:5000/setSta" \

  -H "Content-Type: application/json" \

  -d '{"status":0}'
Expected response: {"resp_code":0,"status":0}
Check the plug’s current status
curl -X POST "http://192.168.1.94:5000/getSta"
Expected response: {"resp_code":0,"data":{"status":1}}
Note : unlike a typical REST API, the status-check endpoint (/getSta) uses POST, not GET — this is a quirk of the plug’s firmware.
If these commands work and change your plug’s power state, you’re ready to configure Homebridge.
Step 3 — Install the homebridge-http-switch Plugin
This plugin lets Homebridge control any device through simple HTTP requests, which is exactly what we need here.
From the Homebridge Config UI X web interface :
- Go to the Plugins tab.
Search for homebridge-http-switch. Click Install.
Or via the command line: sudo npm install -g homebridge-http-switch
Step 4 — Configure the Accessory
This is the most important (and trickiest) part. You must edit Homebridge’s raw JSON configuration directly — do not use the plugin’s graphical settings form in Config UI X, because it may strip out fields it doesn’t recognize (like statusUrl), causing the plugin to fail on restart.
In Config UI X, look for a raw JSON editor option (usually an icon like { }), not the individual plugin settings panel.
Add this block inside the ”accessories” array of your configuration.json:
{

    "accessory": "HTTP-SWITCH",

    "name": "Library Plug",

    "switchType": "stateful",

    "onUrl": {

        "url": "http://192.168.1.124:5000/setSta",

        "method": "POST",

        "body": "{\"status\":1}",

        "headers": {

            "Content-Type": "application/json"

        }

    },

    "offUrl": {

        "url": "http://192.168.1.94:5000/setSta",

        "method": "POST",

        "body": "{\"status\":0}",

        "headers": {

            "Content-Type": "application/json"

        }

    },

    "statusUrl": {

        "url": "http://192.168.1.94:5000/getSta",

        "method": "POST"

    },

    "statusPattern": "\"status\":1"

}
Explanation of Each Field
"accessory": "HTTP-SWITCH""name""switchType": "stateful": means the switch remembers its ON/OFF state (as opposed to ”stateless”, used for momentary buttons). - “
onUrl" / "offUrl": the HTTP requests sent when you toggle the switch in HomeKit. Each includes:"url": the plug’s local endpoint."method": the HTTP method used (POST in this case). "body": the JSON payload sent to the plug ({“status”:1} for on, {“status”:0} for off).-
"headers": tells the plug’s server to expect JSON-formatted data. "statusUrl": the endpoint Homebridge polls to check the plug’s actual current state, keeping HomeKit’s display in sync even if the plug was toggled another way (e.g., manually or via the Beli app).-
"statusPattern": the text string Homebridge looks for in the response of statusUrl to determine if the plug is ON. Since the plug returns{"resp_code":0,"data":{"status":1}}when on, we search for the substring ”status”:1.
Step 5 — Restart Homebridge (Fully, Not Just the Plugin)
After saving your configuration.json, restart the entire Homebridge service, not just the individual child bridge, to make sure the new configuration is fully reloaded.
Via Config UI X:
- Go to Homebridge Settings and click Restart Homebridge.
Via SSH: sudo hb-service restart
or, depending on your installation : sudo systemctl restart homebridge
Step 6 — Verify in the Logs
Check the Homebridge logs to confirm the accessory loaded correctly. You should see:
[Library Plug] Initializing HTTP-SWITCH accessory...

[Library Plug] Switch successfully configured...
If instead you see : Property 'statusUrl' is required when using switchType 'stateful'
This means the statusUrl field was stripped from the configuration — usually because the plugin’s graphical settings panel was opened and saved after your manual edit, overwriting it. Always re-edit through the raw JSON editor, and avoid opening the plugin’s visual settings form afterward.
Step 7 — Pair with Apple Home
Once the accessory loads successfully, Homebridge will display a setup code in the logs (or in Config UI X):
Setup Payload:

X-HM://0023RQRLWDF8V

Enter this code with your HomeKit app on your iOS device to pair with Homebridge:

┌────────────┐

│ 181-58-916 │

└────────────┘
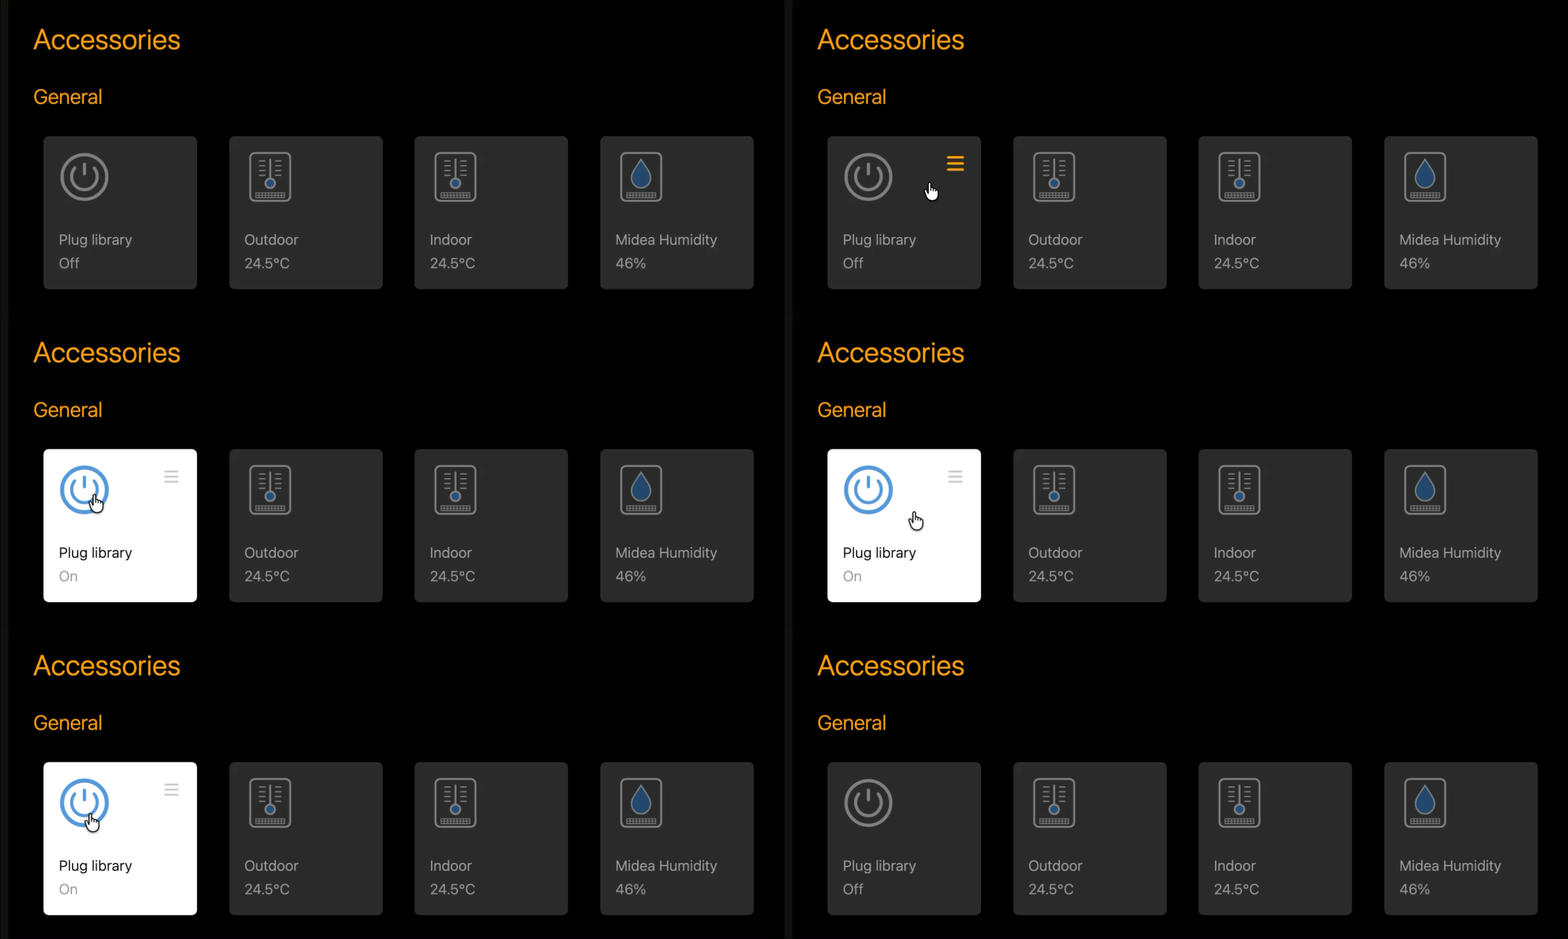
Open the Home app on your iPhone/iPad, tap Add Accessory, scan the QR code (or manually enter the 8-digit code), and your Tenda plug will appear as a standard HomeKit switch.
Troubleshooting Tips
| Symptom | Likely Cause | Fix |
|---|---|---|
| curl returns “Connection refused” | Your computer isn’t on the same 2.4 GHz Wi-Fi network as the plug | Double-check your Wi-Fi connection; Tenda plugs only support 2.4 GHz |
| Accessory disappears after every restart | The plugin’s graphical settings form is overwriting statusUrl | Only edit config.json via the raw JSON editor |
| Plug’s IP address keeps changing | No DHCP reservation configured | Set a static DHCP lease for the plug’s MAC address in your router |
| Status doesn’t update in the Home app | statusPattern doesn’t match the plug’s actual JSON response | Run curl -X POST http://<IP>:5000/getSta again and adjust the pattern to match the exact returned text |
Summary
Using the plug’s local, unauthenticated HTTP API—homebridge plug wifi tenda beli—allows direct integration. This avoids the Tuya cloud or the Beli app and provides local, fast control through Apple HomeKit. No Tuya Local Key or account linking is needed.
Leave a Reply