
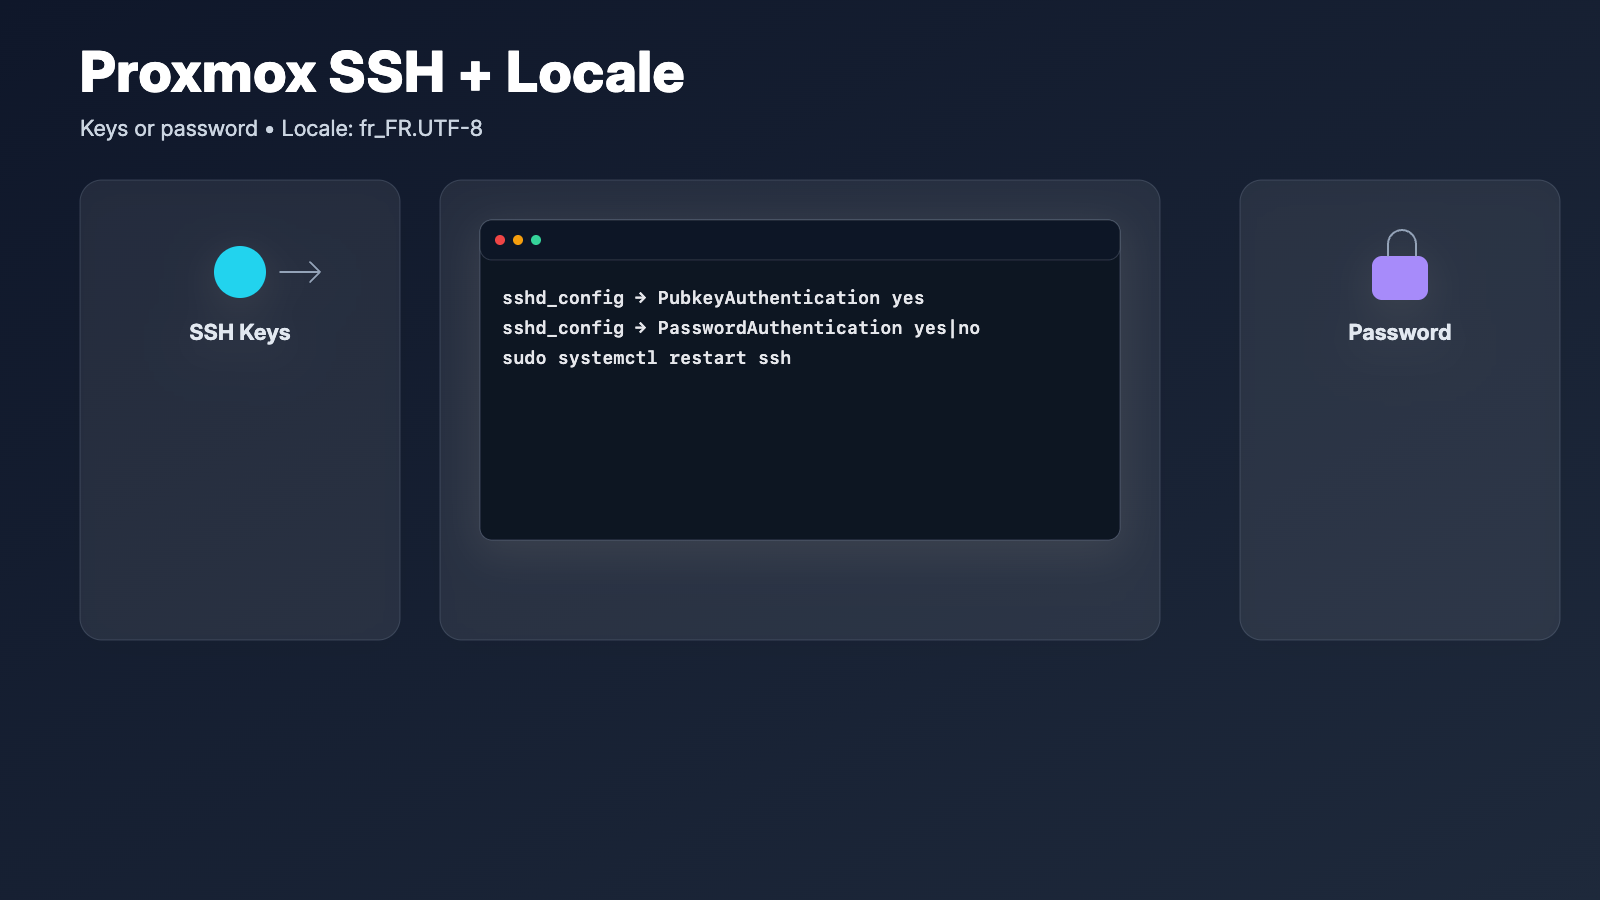
In this article, we will guide you through the process of setting up SSH access on a Proxmox server, including two methods for authentication: using SSH keys and using a password. Additionally, we will cover how to configure the system locale to ensure proper character encoding and language settings.
Part 1: Setting Up SSH Access
Method 1: SSH Key Authentication
Using SSH keys is a more secure method for authenticating to your server. Here’s how to set it up:
1. Generate SSH Key Pair on Client Machine
Open a terminal on your local machine and run the following command:
ssh-keygen -t rsa -b 2048
This will generate a public and private key pair. By default, the keys will be stored in ~/.ssh/id_rsa and ~/.ssh/id_rsa.pub.
2. Copy the Public Key to the Proxmox Server:
Use the following command to copy your public key to the Proxmox server:
ssh-copy-id username@your_proxmox_ip
Replace username with your actual username and your_proxmox_ip with the server’s IP address.
3. Connect to the Server:
Now you can connect to your Proxmox server without a password:
ssh username@your_proxmox_ip
4. (Optional) Disable Password Authentication:
For enhanced security, you can disable password authentication. Edit the SSH configuration file:
sudo nano /etc/ssh/sshd_config
Find the line PasswordAuthentication yes and change it to:
PasswordAuthentication no
Restart the SSH service:
sudo systemctl restart sshd
Method 2: Password Authentication
If you prefer to use password authentication, follow these steps:
1. Edit the SSH Configuration:
Open the SSH configuration file:
sudo nano /etc/ssh/sshd_config
Ensure the following line is set to yes:
PasswordAuthentication yes
2. Restart the SSH Service:
Apply the changes by restarting the SSH service:
sudo systemctl restart sshd
3. Connect to the Server:
Use the following command to connect to your Proxmox server:
ssh username@your_proxmox_ip
You will be prompted to enter your password.
Part 2 : Configuring Locale Settings
Proper locale settings are crucial for ensuring that your system can handle character encoding correctly. Here’s how to configure the locale on your Proxmox server:
1. Check Current Locale Settings:
Run the following command to see your current locale settings:
locale
2. Install Locales Package:
If you don’t have the locales package installed, you can install it with:
sudo apt-get install locales
3. Generate the Desired Locale:
To properly generate and select your locales (e.g., French or English), run the interactive reconfigure tool:
sudo dpkg-reconfigure locales
Use the arrow keys to navigate, the Spacebar to select your preferred locales (e.g., fr_FR.UTF-8 UTF-8 en_US.UTF-8 UTF-8
Alternatively, you can generate a specific locale directly:
sudo locale-gen fr_FR.UTF-8
4. Edit Locale Configuration:
Open the locale configuration file:
sudo nano /etc/default/locale
Ensure it contains the following lines:
LANG=fr_FR.UTF-8
LANGUAGE=fr_FR:fr
LC_ALL=fr_FR.UTF-8
5. Update Locale Settings:
Apply the changes by running:
sudo update-locale
6. Verify Locale Configuration:
Check the locale settings again to ensure they are correct:
locale
7. Restart the Server or Session:
For the changes to take effect, either restart your server or log out and log back in.
Troubleshooting: Fixing “-bash: warning: setlocale” Errors
When connecting via SSH, you might encounter warnings like this:
-bash: warning: setlocale: LC_CTYPE: cannot change locale (UTF-8): No such file or directory
-bash: warning: setlocale: LC_COLLATE: cannot change locale (fr_FR.UTF-): No such file or directory
This happens because your local SSH client automatically forwards its own language environment variables to the remote Proxmox server, but the server doesn’t have those specific configuration files generated or encounters a malformed string.
You can fix this using one of two methods:
Fix 1: Generate Missing Locales on the Server (Recommended)
Make sure the server supports the locales your client is trying to send. Run:
sudo dpkg-reconfigure locales
Select the matching locale from the list (e.g., fr_FR.UTF-8 UTF-8), validate, and restart your SSH session.
Fix 2: Stop SSH Client from Forwarding Locales
If you prefer not to alter the server settings, you can instruct your local machine’s SSH client to stop sending your local environment variables to remote hosts.
On your local machine (Mac or Linux client), edit the SSH configuration file:
sudo nano /etc/ssh/ssh_config
Locate the following line and comment it out by adding a # at the beginning:
# SendEnv LANG LC_*
Save the file and reconnect. The warning will disappear.
Conclusion
By following these steps, you can successfully set up SSH access on your Proxmox server using either SSH keys or password authentication. Additionally, configuring the locale—and knowing how to troubleshoot setlocale
Leave a Reply